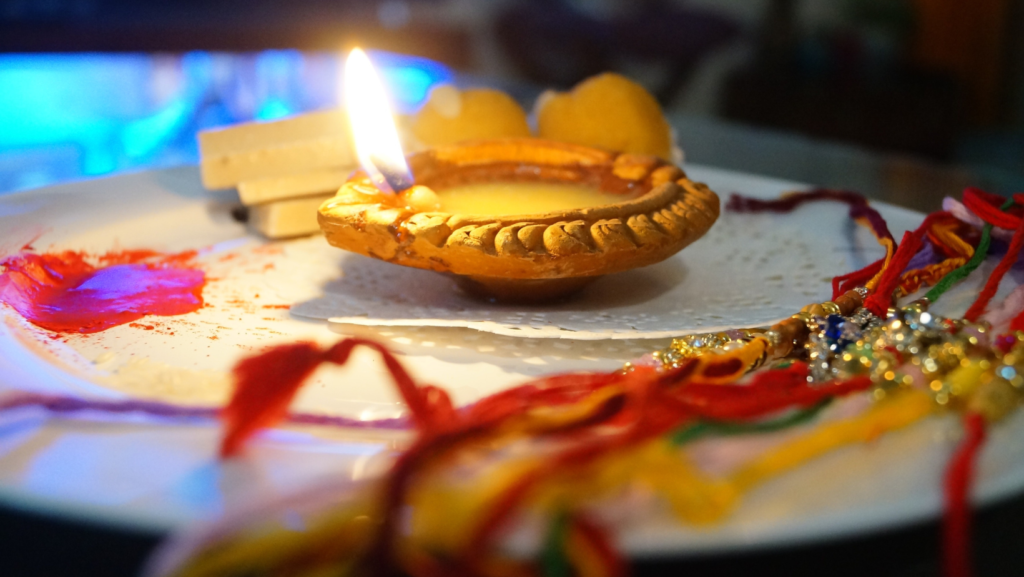
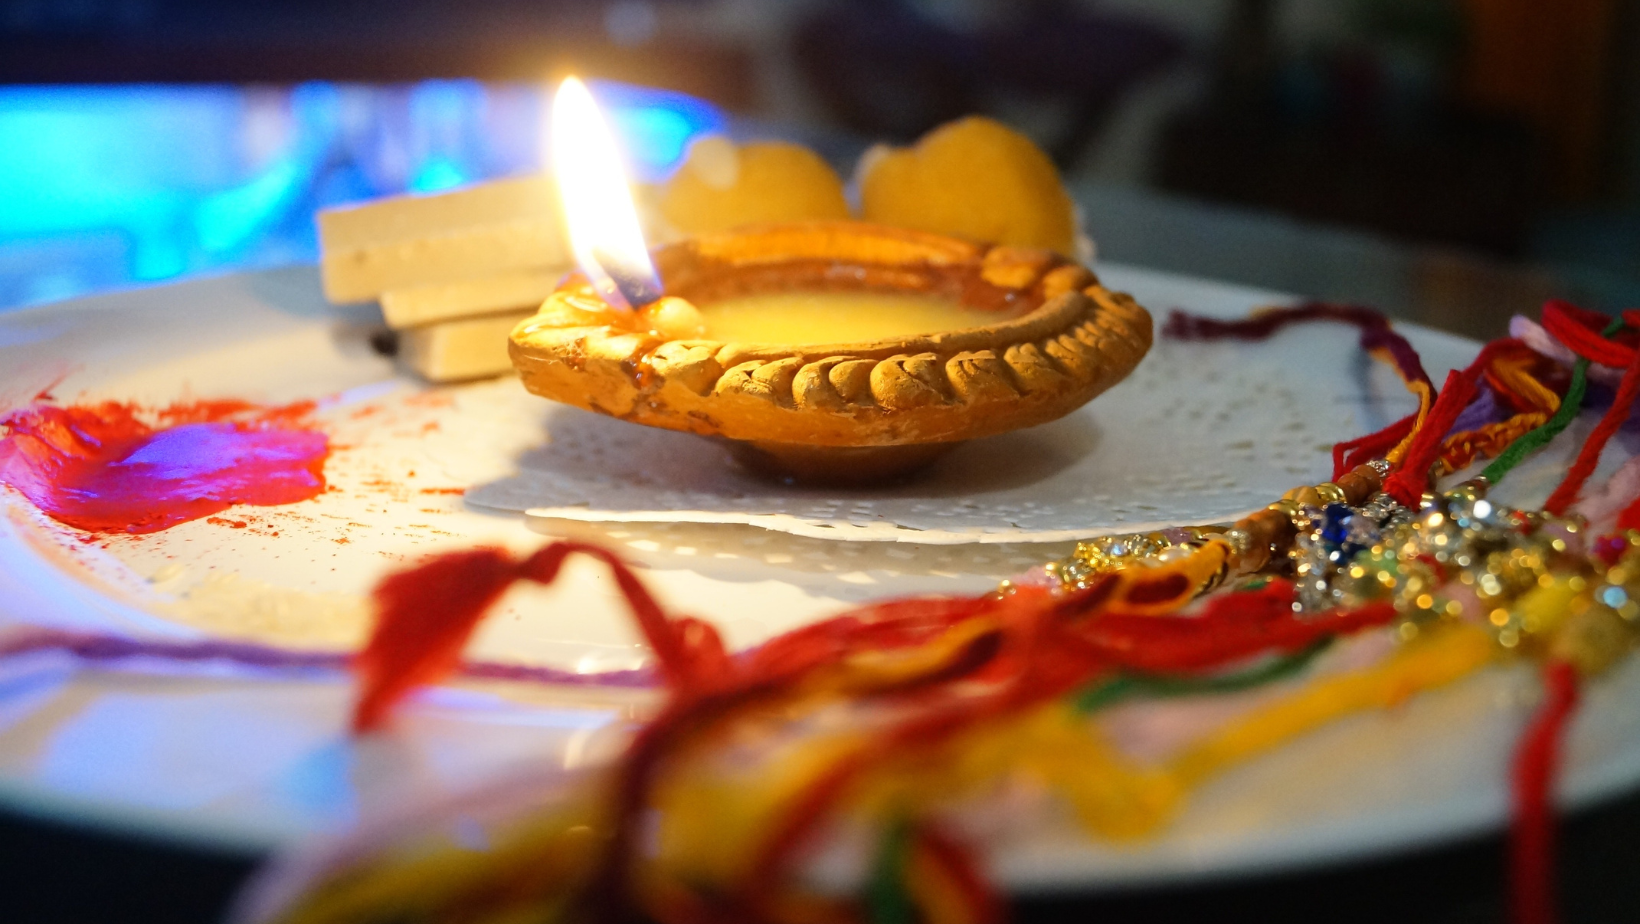
How to make Rakhi at home – Crafting a Rakhi within the comfort of your home offers a delightful and personalized approach to honoring the special connection between siblings. Below, you’ll find a detailed step-by-step manual outlining the proper method of creating a Rakhi in your home setting.
How to make Rakhi at home
Materials You’ll Need:
- Silk thread or embroidery floss (in various colors)
- Beads, sequins, pearls, or any decorative embellishments
- A small piece of cardboard or felt
- Scissors
- Glue or adhesive
- A small craft needle
- Measuring tape or ruler

How to make Rakhi at home
Steps:
- Choose the Design: Decide on the design and color scheme you want for your Rakhi. Traditional colors like red, yellow, and orange are often used. You can also opt for a theme that holds special significance for you and your sibling.
- Prepare the Base: Cut a piece of cardboard or felt into a rectangular shape. This will serve as the base for your Rakhi. The dimensions can be around 2-3 inches in length and 1 inch in width, but you can adjust them based on your preference.
- Thread Selection: Choose the silk thread or embroidery floss that matches your chosen color scheme. You can use a single color or multiple colors to create a layered effect.
- Wrapping the Base: Start by applying a small amount of glue to one end of the cardboard/felt piece. Attach the end of the silk thread to the glued part and let it dry for a few seconds. Now, gently wrap the thread around the base. Keep the wraps close together to create a solid foundation.
- Adding Decorative Elements: As you wrap the thread, you can incorporate beads, sequins, pearls, or any other decorative elements. Simply thread them onto the silk thread and continue wrapping.
- Creating Layers (Optional): To add more depth and texture, you can switch to a different color of silk thread and continue wrapping. This can create a beautiful layered effect.
- Finalizing the Wrapping: Once you’re satisfied with the thickness and appearance of the wrapped thread, cut the thread, leaving a tail of a few inches. Apply a small amount of glue to the end and secure it neatly to the backside of the Rakhi.
- Adding the Thread to Tie: Cut a piece of silk thread of appropriate length to serve as the tying thread for the Rakhi. Attach it to the sides of the Rakhi, making sure it’s firmly secured.
- Let It Dry: Allow your handmade Rakhi to dry completely before handling it. This will ensure that all the glued parts are secure.
Raksha Bandhan 2023 – How to make Rakhi at home
Here are a few creative Rakhi design ideas that you can make at home:
1. Floral Delight:
- Use silk thread in vibrant colors to create the base.
- Attach small artificial flowers or petals using glue at intervals along the thread.
- Add tiny beads or sequins at the center of each flower for a touch of sparkle.
2. Quilled Rakhi:
- Create intricate shapes using quilling paper strips in various colors.
- Arrange the quilled shapes on the base thread to form a unique pattern.
- Add small beads or pearls as accents between the quilled shapes.
3. Gemstone Charm:
- Choose a single large colorful gemstone or a cluster of smaller ones.
- Attach the gemstone(s) to the center of the silk thread using glue.
- Surround the gemstone(s) with smaller beads or sequins for a regal look.
4. Embroidered Elegance:
- Embroider intricate designs using colorful thread on a fabric strip.
- Attach the embroidered strip to the base thread using glue or stitching.
- Embellish the embroidery with tiny beads or sequins for added texture.
5. Beaded Beauty:
- Use a combination of colorful beads in different shapes and sizes.
- Thread the beads onto the silk thread in a pattern that you like.
- Add a tassel made of thread at the end of the Rakhi for a playful touch.

